MichaelMassie.com/projects
Project Journal
Milwaukee Snackout And Snaccessories

Oh, the places we’ll go!
A couple of months ago, I had an idea to bring a charcuterie “to-go” box to a bike-and-coffee social ride (Scrappy Hour).
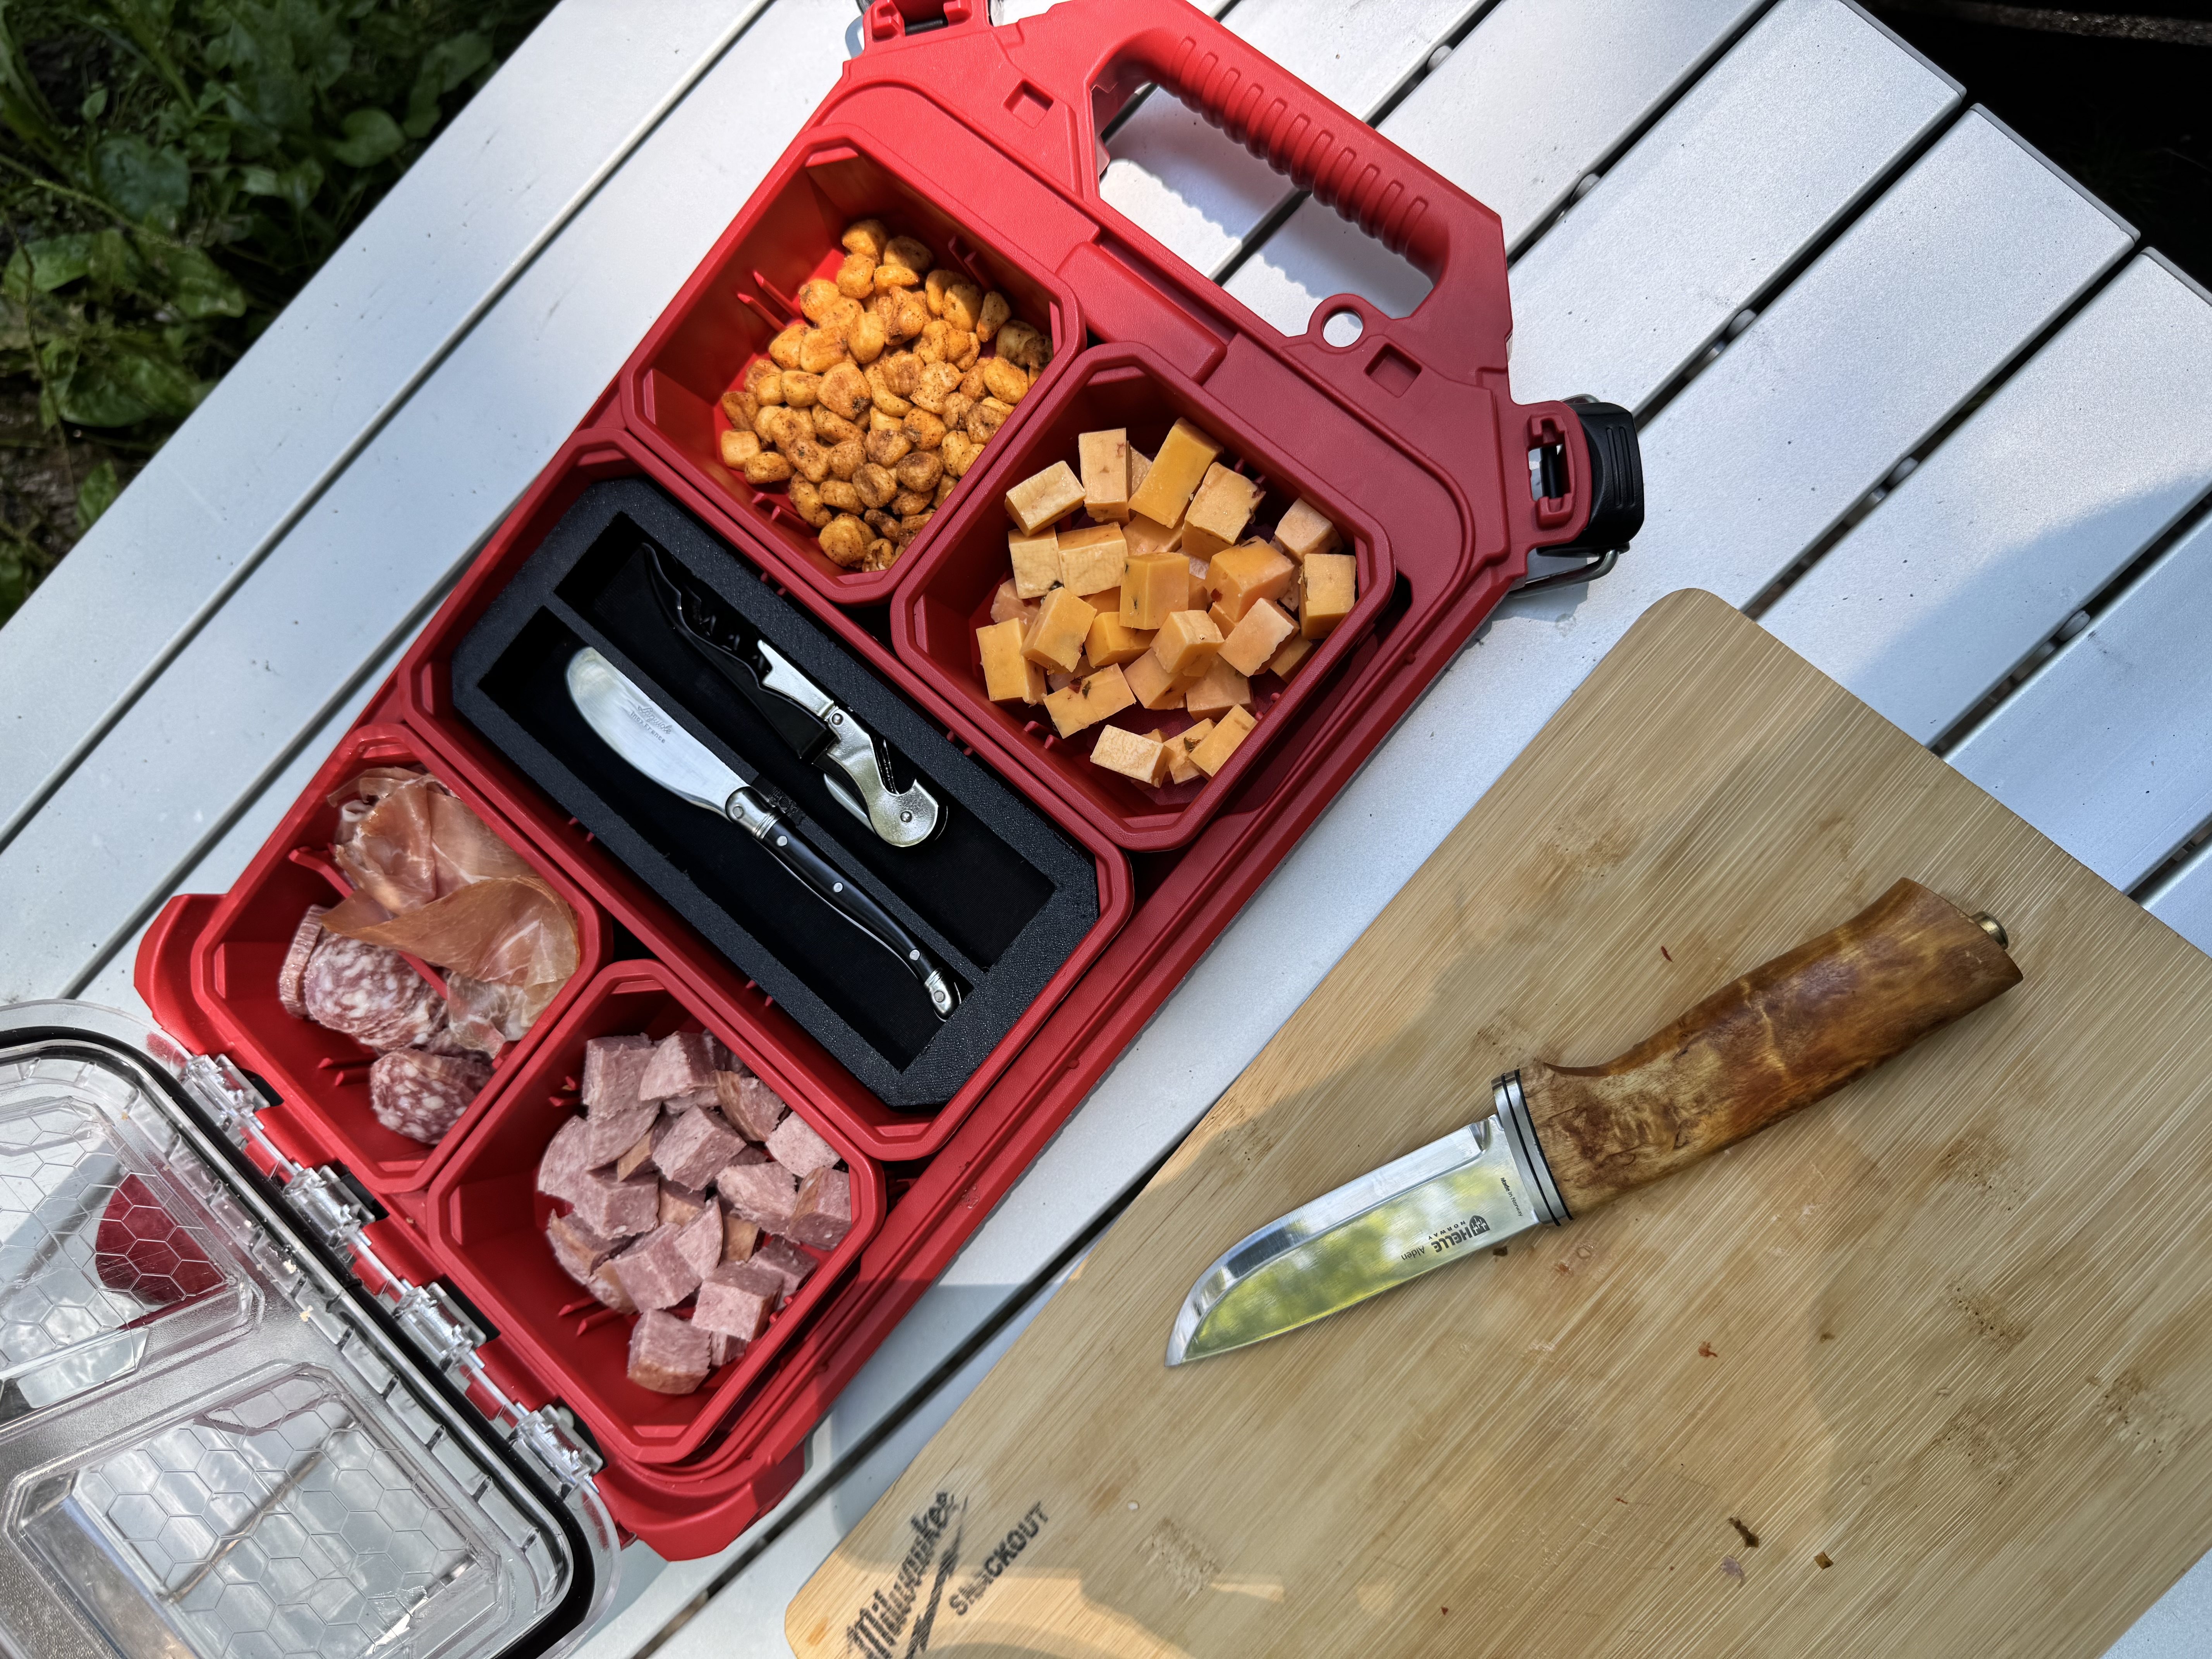
I’d once seen a Washington MTB outfitter offering something they called “Snackouts” — a Milwaukee Tool Packout Low-Profile Compact Organizer filled with trail snacks like beef jerky, nuts, and trail mix. I loved the concept, but I thought it could go one step further. Why not combine that rugged snack case with the elegance of a charcuterie board? The only missing piece… an actual cutting/serving board.
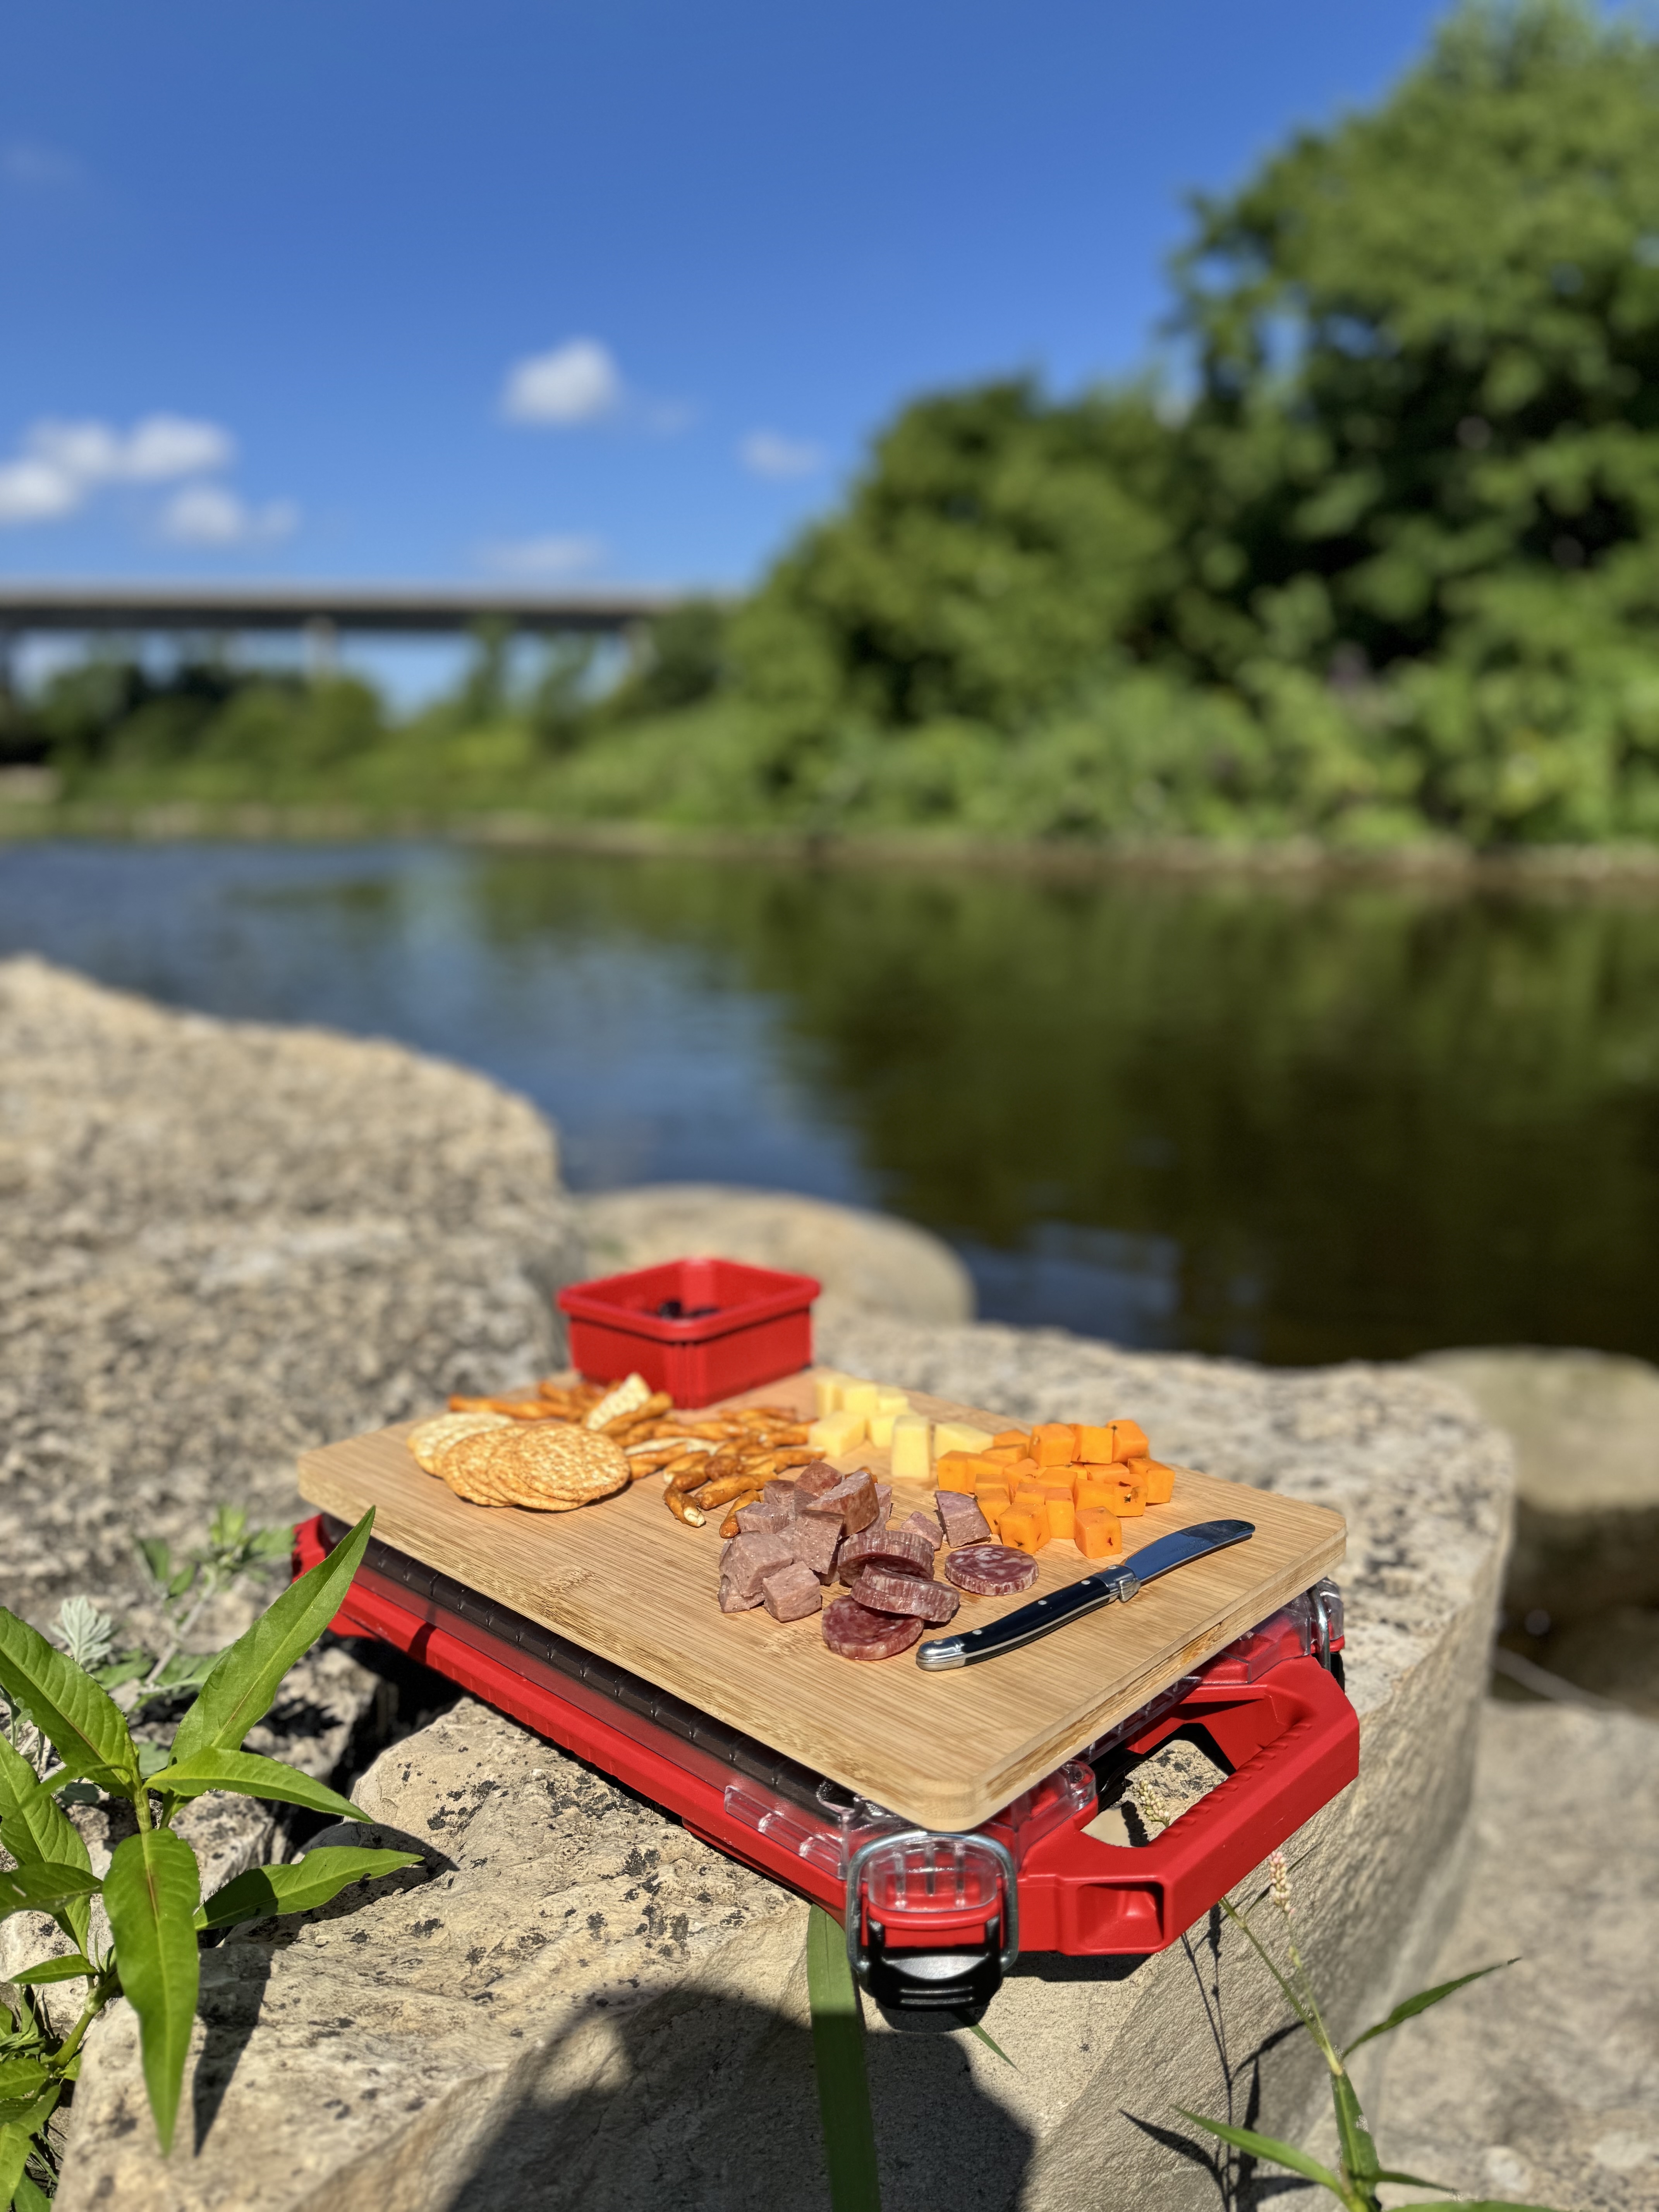
After some research into 3D printable Milwaukee Packout cleat designs, I printed and mounted some to the back of a cutting board cut to fit the case top. Voilà — phase one complete.
I was up against the deadline for the next ride, so instead of finding time on a laser cutter to burn in “Snackout,” I improvised, using Synthetic Oil of Wintergreen. I transferred the ink from a reversed laserjet print directly onto the board. Not bad for a quick hack.
None of this up till now is a new idea, Snackleboxes and even sectional bins with cutting board lid tops are all over the internet, but it started becoming different when I realized I needed other snaccessories — a cheese knife and a bottle opener, maybe hot sauce, and the list started to grow.
The day before the ride, I mounted a Packout wall mount to my front bike rack so the Snackout (and cutting board) could lock in securely for transport. It worked beautifully… except for one detail: it was hot out, and the cheese got sweaty. Kenny suggested adding a chiller or ice block. We tossed around ideas — maybe stacking another Packout full of ice packs underneath, or other cooling methods.
Cooling Upgrade
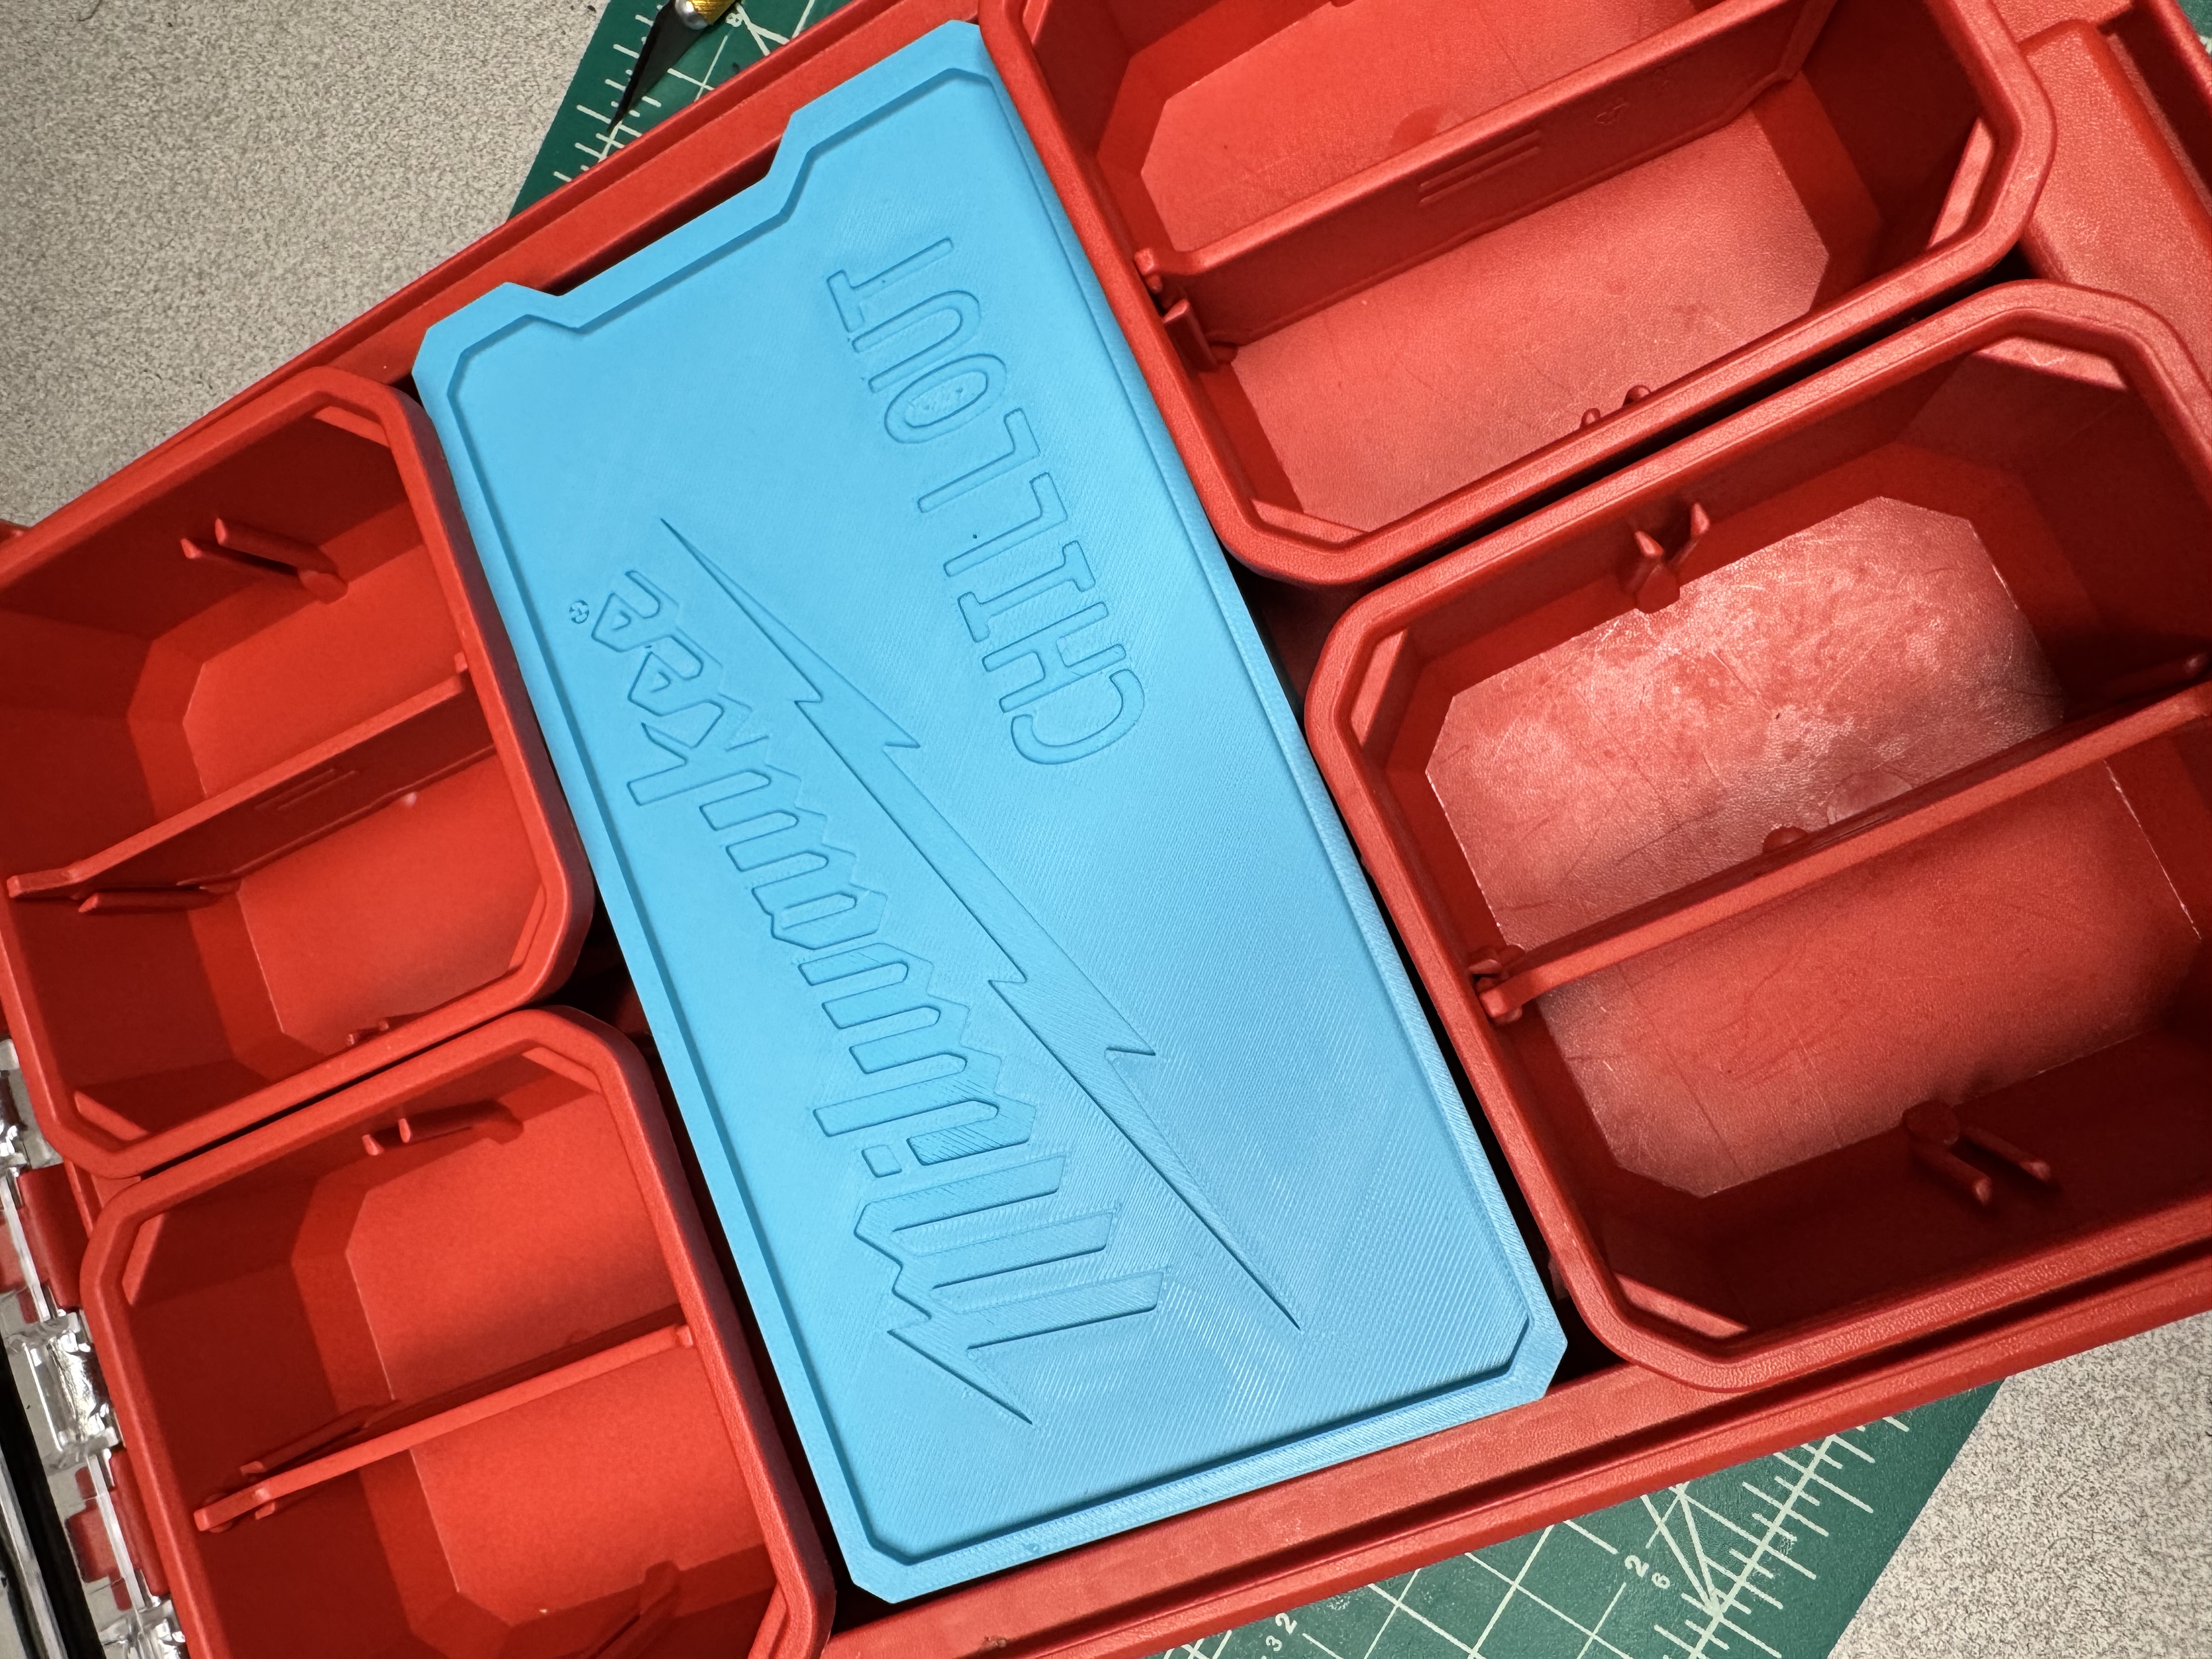
In the end, I decided to replace the middle bin with a custom ice block. This part went better than expected, though I had one worry - could the print hold the liquid coolant without leaking and would the container crack once frozen?
I went with soft-sided gel packs because they showed far less expansion and contraction between hot and cold than hard ice packs (which often bulge when frozen).
Cutting one open and feeding it into my prototype was… like putting toothpaste back in the tube. It was a patience test. Once it was finally in, I sealed it with a healthy dose of super glue and tossed it in the freezer.
Not only did it work — it worked perfectly.

More pics here Instagram
Future Plans
I still want to add more accessories: a toothpick tray, a napkin holder, maybe more. But for now, I’m calling it done.
It’s already been mounted to a bike, strapped to a kayak, tossed into a passenger seat, and even used on a SUP board as a floating buffet table.
It may be possible that I am on a one man mission to make the Milwaukee Packout a lifesyle brand. :)
Downloads
I’ll make the knife and bottle opener files available after some minor adjustments, as well as any new builds in the future.
Chillout Brick - Makerworld Link
tags: project